Oftentimes after a rough introduction to pregnancy (morning sickness and extreme fatigue!), we can start to feel better in the second trimester and look forward to getting back into doing some physical activity.
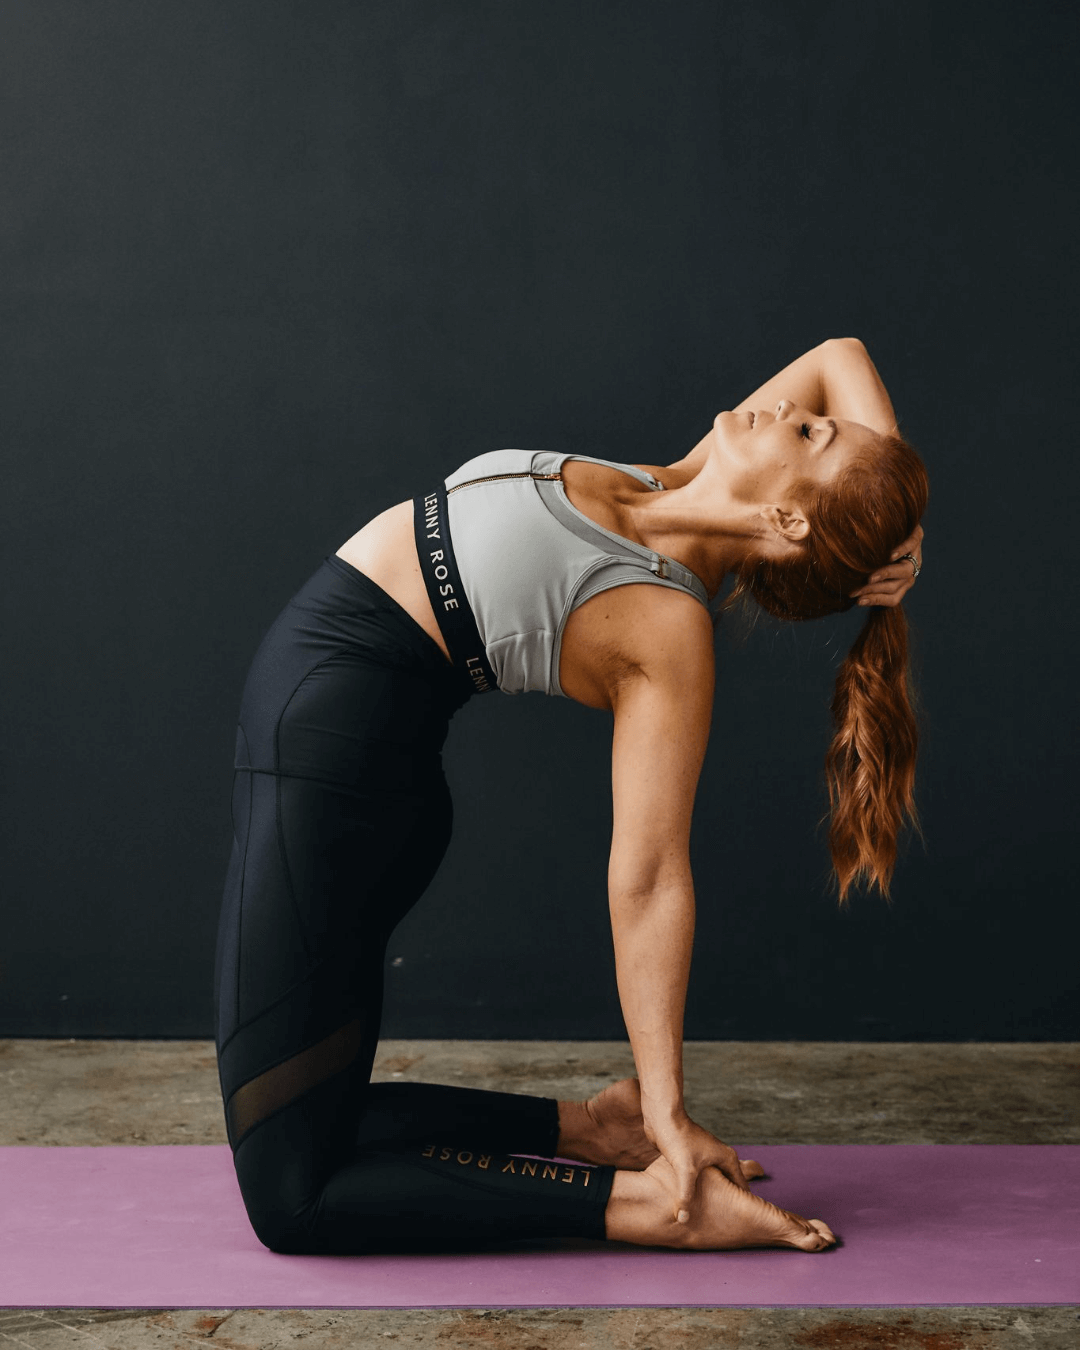
For your second trimester, and in general, you should avoid extreme, heavy or high impact exercise during pregnancy. Instead, opt for strengthening exercises and light cardio exercise such as walking, stationary cycling or swimming, and some pregnancy specific stretches and yoga.
Read this blog to guide you through staying active and for physiotherapist-recommended safe exercises for the second trimester.
Why Is It Important To Stay Active During Pregnancy?
Exercising during pregnancy is highly beneficial for both the mother and baby’s physical, mental and emotional well-being, reduces back pain, incidence and severity of pre- and postnatal depression, and length of labour by up to ⅓. Exercising also helps improve body image, self-confidence, and your confidence to birth your baby. Babies from mothers who exercise have shown to have higher IQ scores compared to mothers who do not exercise.
During Pregnancy Exercise Tips
- Get clearance from your health care provider to continue or resume activity as you start your pregnancy journey, and check in regularly.
- If you were previously active, aim to continue usual activities (minus high impact or extreme exercise in pregnancy, hot yoga, or contact sports!) at a reduced intensity and duration.
- If you are new to exercise, start with a 10 minute walk a day and gradually build up over the course of your pregnancy until you meet the minimum recommended activity guidelines.
- Keep cool
- Stay well hydrated
- Take regular breaks
13 Easy & Safe Exercises for Second Trimester
If you have stopped exercising in early pregnancy due to morning sickness, don’t worry - we have included different exercises that are appropriate for 4 months pregnant women and beyond! Just start slowly if you are returning to exercise, and listen to your body.
Core Strengthening Exercises
1. Modified Shoulder Taps
What to do: With hands elevated onto a chair or bench, start yourself off in a position similar to the top of a push up. Take your feet wider, and bring your thumbs to touch. On an exhale breath, engage your pelvic floor, lower tummy (sensation of hugging baby or belly to spine) and gently squeeze your butt muscles. Stay for another cycle of breath, and then next exhale. Tap your left hand to right shoulder, inhale to start position, exhale to swap sides. Repeat 10 taps each side. Further modification can be made by dropping down to knees. Certainly do this if there is any strain on the lower back or uncomfortable sensation in the tummy or midline. Aim to keep your hips as square as possible whilst squeezing your glutes to stabilize.
Benefit: Strengthens deep core - a great exercise to avoid back pain in pregnancy.
What to avoid: Sagging in the lower back, any straining feeling in the lower back, holding your breath and letting your hips move.
2. 4-Point Kneel With Rotation
What to do: Start on all 4s. Put your hands underneath shoulders and then move about a hand width further forwards. Keep your knees hip width or slightly wider apart. Take your right arm out into a cactus position (90 degree bend at the elbow and arms at shoulder height).
On an inhale breath, twist through upper back (not your whole spine), squeezing the muscles between your shoulder blades, and opening to the ceiling
On an exhale breath, engage your belly (hug of baby sensation) and bring elbow back to midline. Repeat 5 times and switch sides.
Benefit: Strengthens back and deep core muscles
What to avoid: Letting your hips/ belly twist with you and holding your breath.
Back Strengthening Exercises To Relieve Sciatica
3. Squat And Rotate (Pass The Baby)
What to do: Start in upright standing, with feet just wider than hip distance. Reach your arms out in front of you, parallel to the floor. Come onto your tip-toes on the right foot and pivot on the ball of the foot as you turn your arms and torso to the left. Engage your glutes, shoulder blades and lower tummy (sensation of hugging your baby, or navel to spine). Inhale back to centre and exhale as you twist to the opposite side. Try to feel all of the muscles along the back of your body engage. Then as you inhale, add a squat through the centre and as you exhale, stand up from the squat as your turn and reach to the opposite side whilst pivoting on the ball of the foot and squeezing the leg, butt and shoulder blade muscles.
Benefit: Strengthens pelvic floor, glutes and back muscles and relieves back pain in pregnancy
What to avoid: Reaching too far out, holding your breath or holding your arms out too far or for too long to avoid any strain on lower back.
4. Modified Cat Cow
What to do: Start on all 4s. Take your hands a little further forwards (about a hand width) rather than directly under your shoulders. On an inhale breath, find a “neutral” or middle range position of your spine (rather than the traditional arching of your back in this exercise) On an exhale breath, round your upper back and press your hands. Repeat 10 times.
Benefit: Mobilises the spine without adding too much pressure on the spine and tummy.
What to avoid: Sagging into your lower back and losing engagement of your belly and pelvic floor.
Lower Back Pain Relief Exercises
5. Seated Forward Bend
What to do: Sit with your legs crossed, and have a couple of pillows or 2 yoga bolsters in front of you. Use your fingertips by the sides of your body to gain a sense of lengthening your spine. On an exhale, fold forward on the pillows and keep your belly space free. Imagine you are lengthening your back from tailbone to back of your skull. Repeat 5-8 breaths before using your hands to assist you back to upright, and repeating on the opposite side
Benefit: Stretches glutes (butt) and lower back and decompresses lower spine
What to avoid: Stretching past 70% of your usual range, due to hormonal factors which make it easier to load your ligaments and joints
Avoid: Holding your breath and avoid compressing your belly area. To help manage this exercise, use props to support your chest and head.
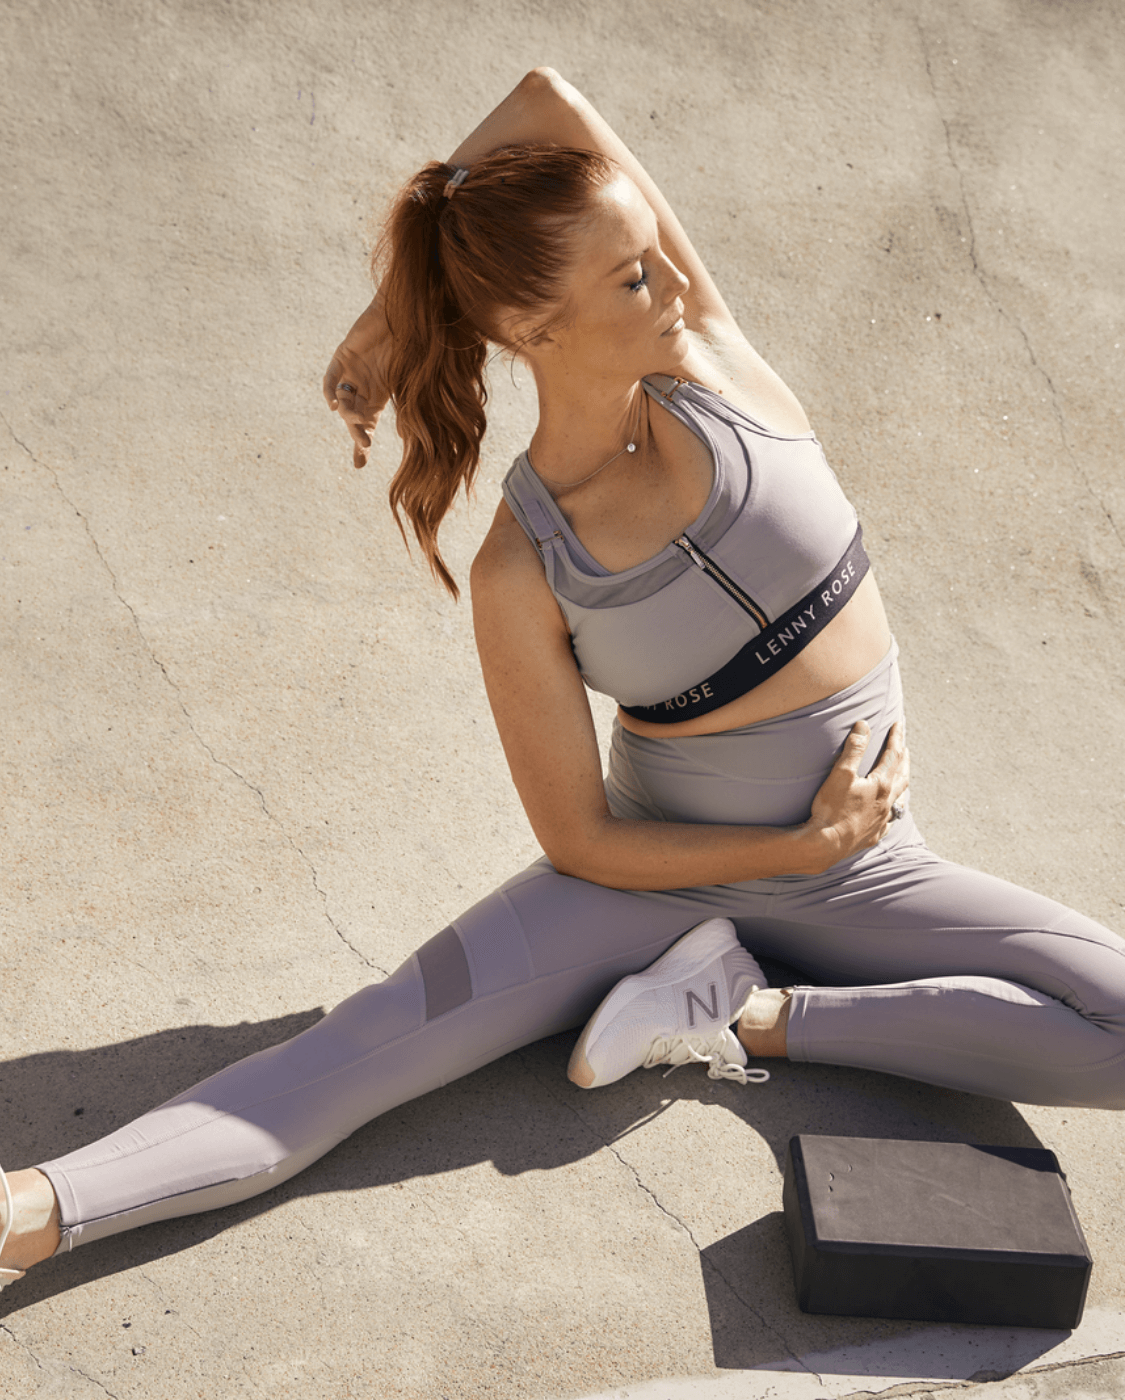
6. Supported Pigeon Pose
What to do: Start on all 4s, then bring your right knee towards your right wrist, and your right ankle towards your left wrist. It may be quite close to your groin if you are tight in the outer hip, or closer to your wrist if you have more open hips. Use a block under your right hip, and a bolster or 2 large pillows placed length-ways in front of you, so you can drape over them and create more space for your bump. Try to keep your pelvis forward facing, rather than rolling off onto your right butt cheek. Hold 5-10 breaths whilst keeping your neck, face and jaw relaxed. Repeat on the left side.
Benefit: Lengthens the outer hip and thigh, which can be tight during pregnancy. This pose is quite intense in sensation, and so is good practice for labour as you build your tolerance to enduring discomfort, with ease and using your breath.
What to avoid: Avoid this position if there is any knee discomfort, or sacroiliac (back of the pelvis on one side) pain. Avoid holding your breath, as the breath is key to allowing the tissues to soften and lengthen.
7. Psoas (Hip Flexor Stretch)
What to do: Place yourself next to a wall or a chair. Kneel on left side of your body next to the wall or chair. Bring your right foot forwards so you are in a half kneeling position. Lengthen your lower spine, create a gentle hug of your baby to spine, and press your hips very gently forward.
Benefit: Stretches the hips and hip flexors and relieves back tightness
What to avoid: Arching your back, lunging deeply forwards (this will compress your back) but not engaging the core.
Arm Exercises Without Weights
8. Modified Push Up
What to do: Start on your knees, with hands elevated onto a chair or bench. Take a round of breath and engage your pelvic floor and core, drawing navel to spine, or in reality the action of using your tummy muscles to give a “hug of your baby”. On your next inhale, lower your chest towards the bench and use your exhale breath to return to start position. If you can easily repeat this for 10-15 reps, then try being on your toes, but be extra aware of your core and pelvic floor, and any discomfort in your tummy or lower back.
Benefit: Strengthens chest, arms and core
What to avoid: Full range or usual push up as this adds too much pressure on your core (abdominal muscles) and lower back. If you have abdominal separation, or any discomfort through your belly and midline, stick to your knees, or do standing wall push up. This is a good modification, with less load through your tummy muscles.
9. Tricep Dips
What to do: Find a stable bench or chair, preferably against a wall for safety. Start seated, and take your hands beside your hips on the bench, with palms down and fingers facing forwards. Lift your butt off the chair and slide slightly forwards, so you have space to lower your hips in front of the bench. Squeeze your shoulder blades lightly together as you lower yourself down, about half way, so that your shoulders don’t go any lower than your elbows, and then press firmly down with your hands to press back up to the start position. Keeping your knees bent, and feet closer to the bench will make it less difficult whereas having your legs stretched out adds more difficulty.
Benefit: Strengthens and tones the back of the arms
What to avoid: Dropping too low or having poor upper back posture (i.e. letting your chest and shoulders round forwards)
10. Modified Tricep Push Ups
What to do: Start kneeling facing a bench, with your hands on the bench at shoulder width apart (narrower than for a regular pushup). On an inhale breath, lower your chest towards the bench whilst keeping your elbows lightly brushing the sides of your body. On an exhale breath, engage your core (important to lift pelvic floor, and engage lower core by drawing navel to spine, or what is now the sensation of using your tummy muscles to give a “hug to your baby”) as you press yourself back up to the start position. If you can easily achieve 10-15 reps, then you may wish to go onto your toes whilst still keeping your hands on the bench.
Benefit: Strengthens backs of arms, shoulders
What to avoid: Letting your shoulders round forward and any sensation of discomfort in the belly or lower back
Pelvic Floor Muscle Exercises
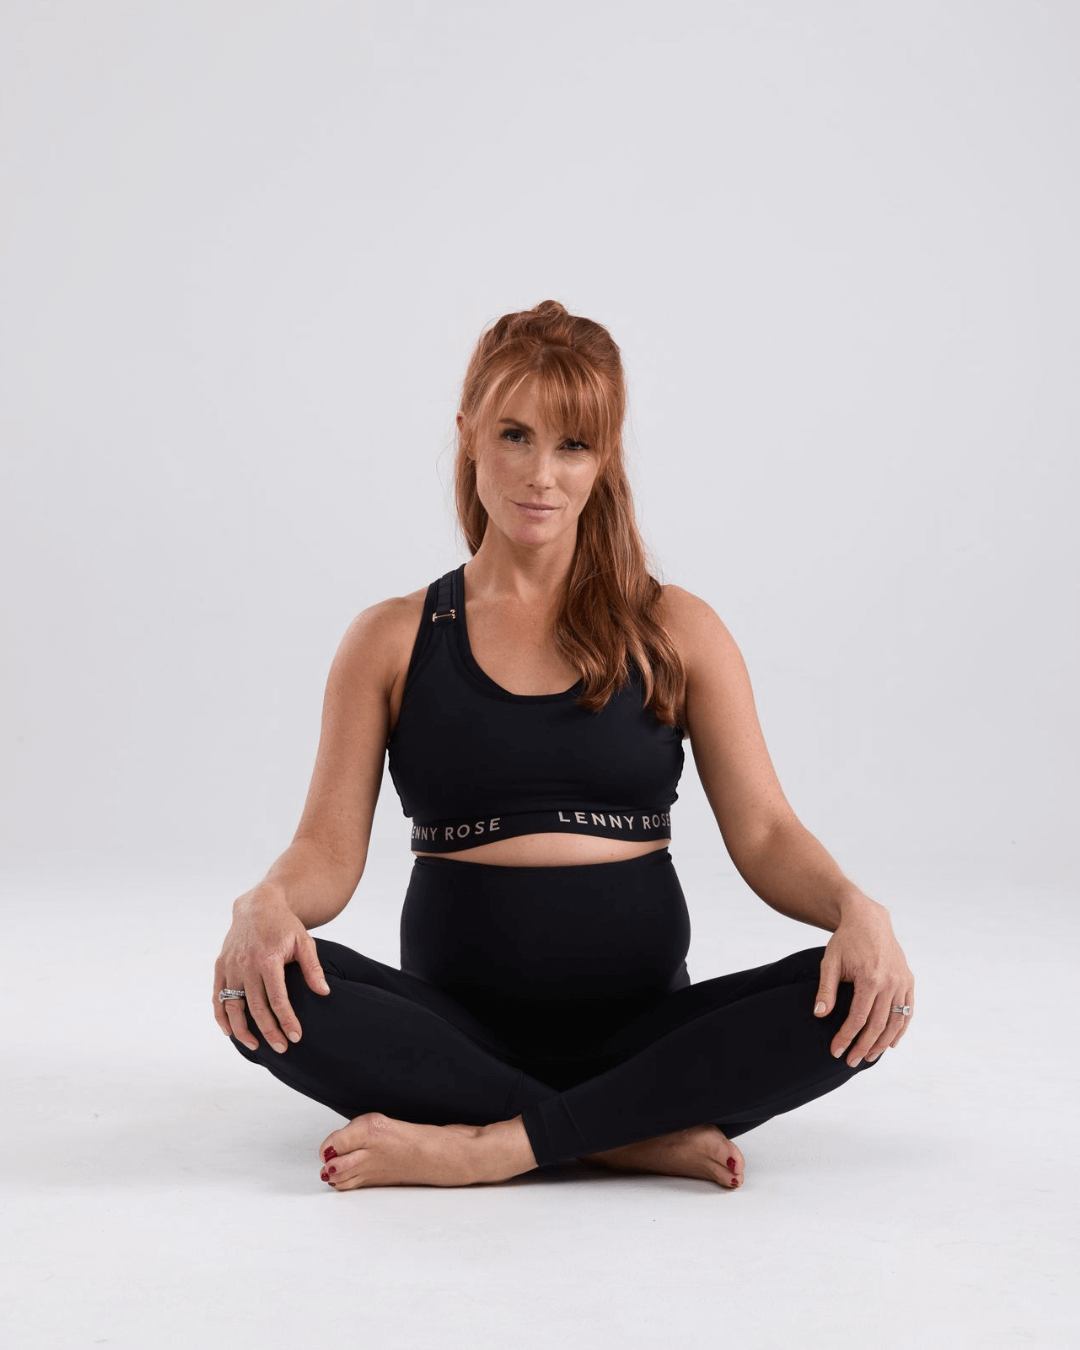
11. Seated Pelvic Floor Awareness.
What to do: Sit in a cross-legged position with a pillow under your tailbone area. Ensure you have a tall spine posture. Tilt your pelvis forwards and backwards a couple of times, to feel the coccyx (tailbone) at the back, and pubic bone at the front. Then tilt side to side to feel your two sitting bones underneath. This is a great pelvic tilt exercise in pregnancy and helps to bring awareness to the pelvis and pelvic floor area. The pelvic floor is the hammock of muscles that lies between these 4 points. On an exhale breath, draw your pelvic floor muscles on and “up” (what you would do to stop the passage of wind), and then urine, and add an additional lift or squeeze up inside towards your baby. On an inhale breath, release the muscles. Repeat on the exhale breath and engage from back to front, like zipping up from back to front, or closing the petals of a lotus flower. Then add an additional lift like an elevator rising. Use your inhale breath to relax and release.
Benefit: Starting with correct technique and awareness of your pelvic floor is key to pelvic health, reducing strain on your pelvic back and core. This is important for childbirth as well as the post baby period.
What to avoid: Holding your breath, straining, clenching your jaw or butt.
12. Squat With Pelvic Floor Awareness
What to do: Start with feet slightly wider than hip width, and toes either straight ahead, or slightly turned out if you feel you need more space for your belly. On an inhale breath, sit your hips back into a squat. Go as deep as you feel comfortable until your knees track over your second toe. On an exhale breath, lift and tighten your pelvic floor, squeeze your glutes and stand up to the top of the squat.
Benefit: Strengthens pelvic floor in preparation for labour and postpartum - having a great awareness of pelvic floor prior to birth will mean an easier recovery. Also strengthens glutes and legs in preparation for labour.
What to avoid: Going too deep, holding your breath, letting your knees knock in.
Calming Breathing Exercises
13. Brahamari Breath (Bee Breath)
What to do: Find a comfortable or supported sitting position which allows you to have an upright spine. Start with some gentle breaths and slowly become aware of the flow of your breath. Take your hands up to your face, and with your thumbs covering your ears. Cover your eyes with your middle fingers and cover your nostrils with your pinky fingers. Breathe in through your mouth, and then close your mouth. Breathe out through your nose (lifting pinkies away from nostrils) as you gently hum, all the way to the end of your breath. You should sound like the buzz of a bee. Repeat 5 times, then return to normal breathing.
Benefit: Calms and concentrates the mind.
What to avoid: Holding your breath or extending the breath for too long, until you are out of breath.
Well, there you have it!
All of these pregnancy exercises can easily be performed at home; making exercise during pregnancy easy and accessible for all expecting mothers.
It’s easy to stay active and build gradual strength for motherhood and beyond with a simple routine of 5-6 exercises, performed in sets of 10-15 reps per exercise, and 1-2 rounds.
For more information, download our research-based approach prenatal exercise guide designed by a physiotherapist and a 4x mum to keep you active during pregnancy.


